In this tutorial, we will show you how to build a WordPress website or blog by self hosting WordPress on a web hosting. Below, you will see the steps required to create a WordPress Blog by installing WordPress on cPanel using Softaculous apps installer.

Now that you have decided to self host WordPress for building your website or blog, we can now move on to see the steps required to setup WordPress and start using it for your website or blog.
Basic steps:
- The first step to create a WordPress blog is to choose a web hosting provider for self hosting your WordPress blog or website. You can see our detailed guide on how to choose a hosting for WordPress.
- You will also need a domain for your website or blog. Generally, most hosting providers give a free domain with the hosting subscription while you are buying the hosting, so You can easily get a domain from your preferred hosting provider.
- After you have purchased the domain name and hosting for your WordPress website or blog, you can now install WordPress on your web hosting server using cPanel. If you don't know how to access your cPanel interface, you can ask your hosting provider for the same.
Now, you can see the steps on how to install WordPress on your web hosting server using Softaculous apps installer inside cPanel.
If you want to see the video tutorial, you can see below:
Login into cPanel
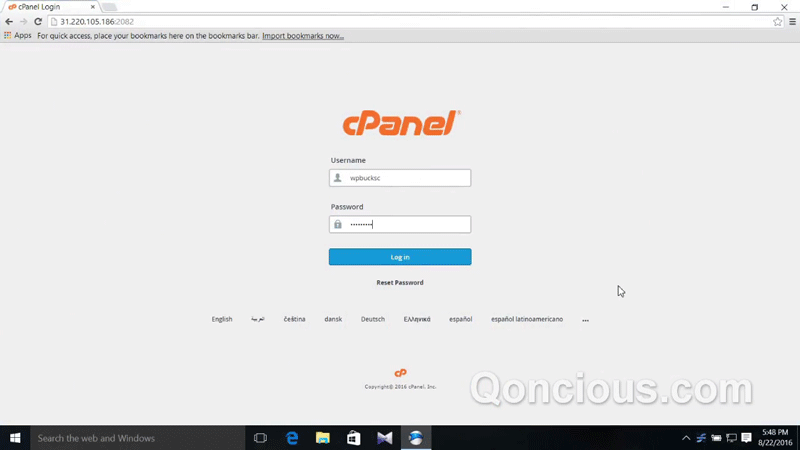
Before you start installing WordPress on your web hosting server, you need to login to your cPanel account. Generally cPanel can be accessed at:
Go to your web hosting cPanel and login.
Locate Softaculous and Choose WordPress
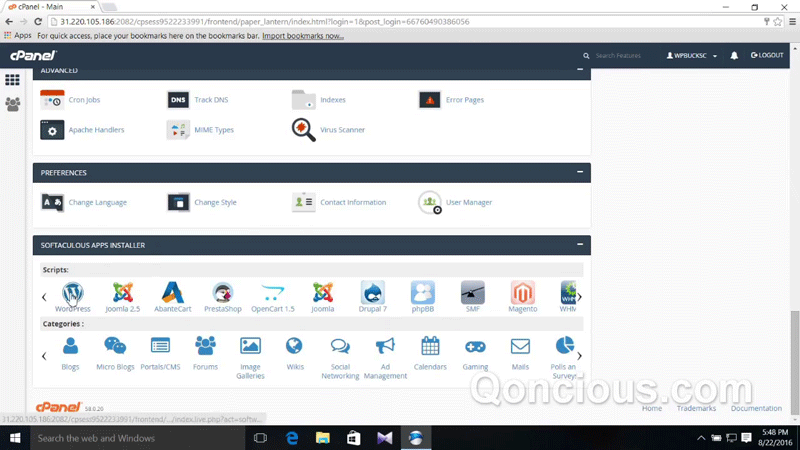
After that inside the cPanel interface, locate your Softaculous apps installer. Your cPanel interface might be a bit different. Now, inside Softaculous apps installer, click on WordPress as shown to start installing WordPress.
Click Install Now

Enter WordPress Website's or Blog's Setup Details
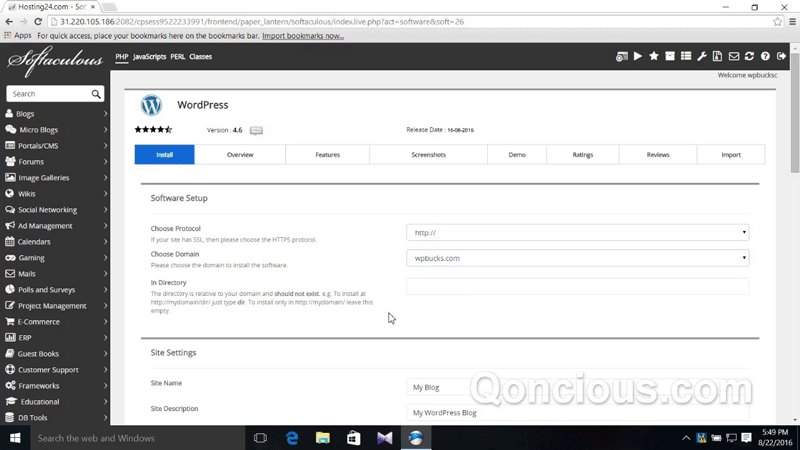
You will see the website’s settings as shown. Here you will enter your website's or blog's details.
In the choose protocol option you can choose whether your website opens with a WWW or without it. For example, if you want your website to open as http://www.yourwebsitedomain, you can choose http://www or if you want it to open as http://yourwebsitedomain, you just need to choose http://. If you have an SSL certificate, you can choose the https:// options.
Choose the domain on which you want to install your WordPress website.
Now, if you want your WordPress blog or website to open in a directory relative to your domain, you can enter a directory name here. For example, if you want your website or blog to open at www.yoursitedomain/wp or at www.yoursitedomain/blog, you can write wp or blog here. We are keeping it blank so that the website opens at the domain and not in a directory relative to it.
Enter Website Details
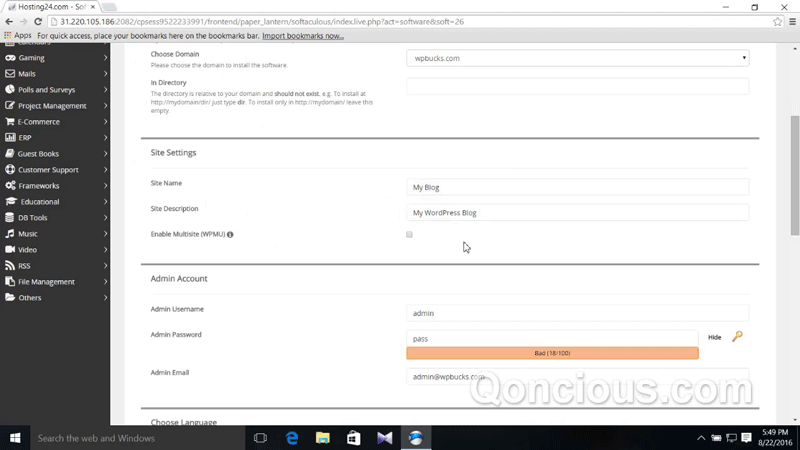
Now, Enter your websites name.
Enter your websites description.
WordPress Admin Settings
Enter admin username.
Choose a strong password. Remember your username and password. These will be used for logging into your WordPress dashboard after this installation completes.
Enter a valid email id.
You can use your gmail, yahoo or any other id.
You can add plugins after installation, so you don’t need to change the default values here.
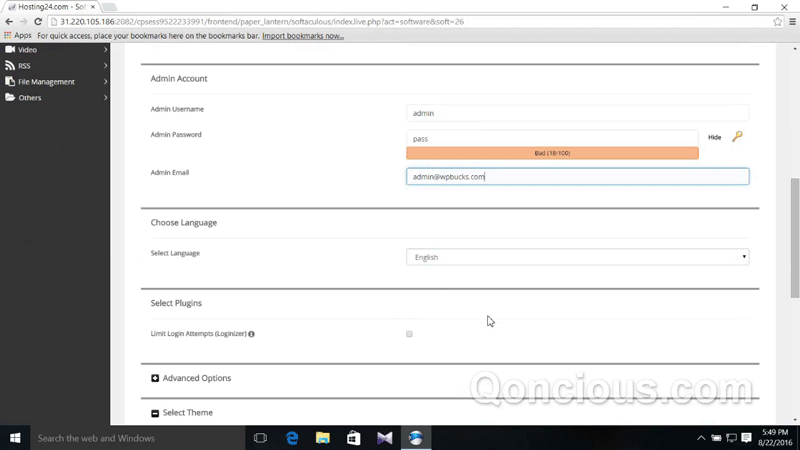
Check Advanced options
Now inside advanced options, you can see the database settings which are used by Softaculous for this installation.
You can change the default database name and table prefix values if you want to change them. We are not changing any default values here.
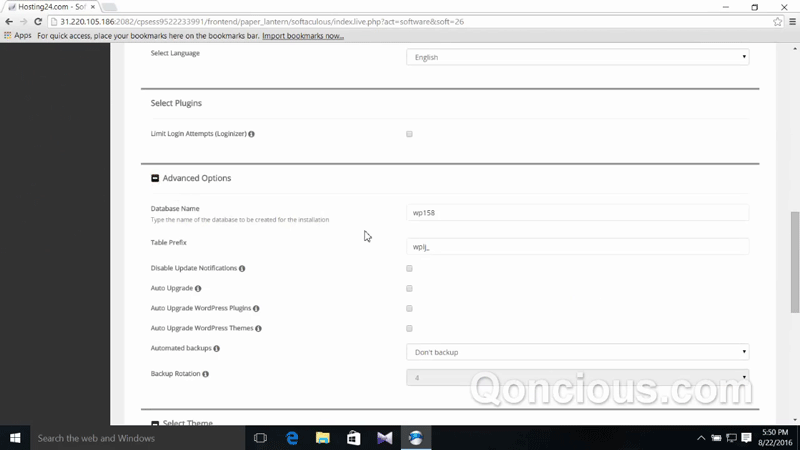
Start Intsall
You don’t need to select any theme now, you can add themes from the WordPress dashboard after installation.
Click Install.

Installing WordPress
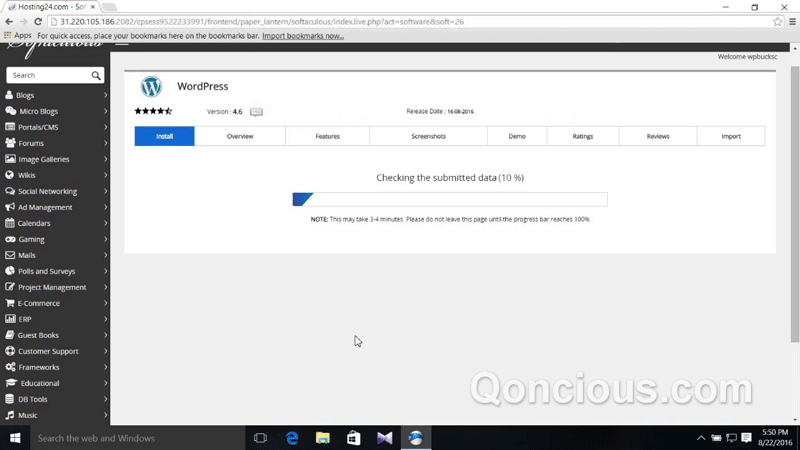
Login into WordPress Dashboard
Go to your domain to see your WordPress site. Now, you can go to the wordpress admin dashboard, and log in using the username and password you created.
To go to your WordPress wp-admin dashboard, you can append /wp-admin at the end of your domain url and then press Enter. Login into your wp-admin dashboard.
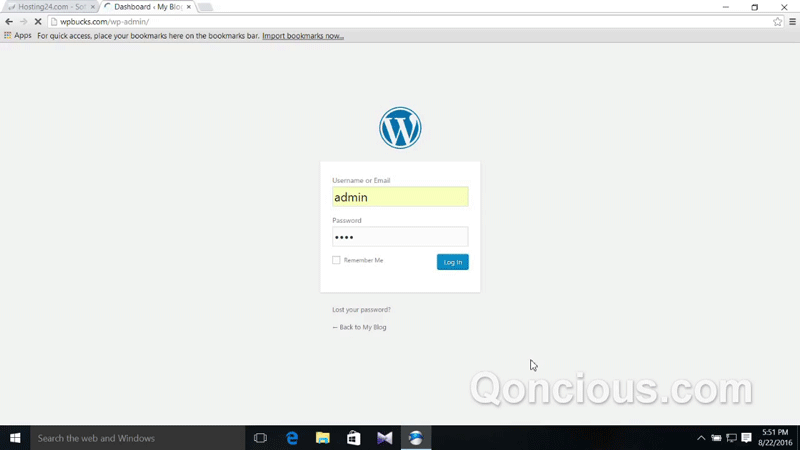
After logging in you will see the wp-admin dashboad as shown.
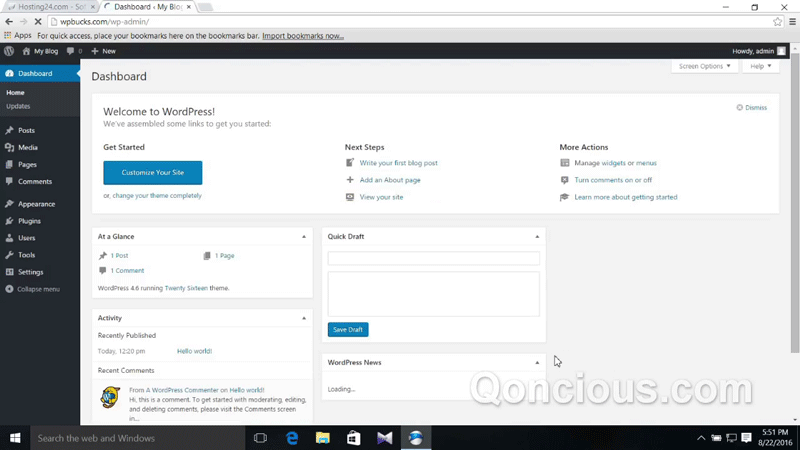
Congratulations, your wordpress website or blog is now installed successfully on your web hosting server and is ready to be designed and configured for your use.
If you wish to create your blog or website without coding, you might want to try Webflow.

