In this tuorial, we will show you how to install wampServer on windows operating system.
Note: For installing WampServer on Windows, you can see this tutorial in video
1) Download WampServer
Go to www.wampserver.com/en. Click on the DOWNLOAD link. You will see the options to download wampserver 64BITS and 32BITS. Download the wampServer which is suitable for your system.

2) Start installing WampServer
After you have downloaded wampServer on your computer, double-click on the downloaded file to start installing it.
Go through the license agreement and accept it. Click next.

3) Check WampServer requirements
Now, before you proceed, you need to check the softwares which are required to install wampServer on your windows PC.
You need to have the visual C++ packages installed on your computer.
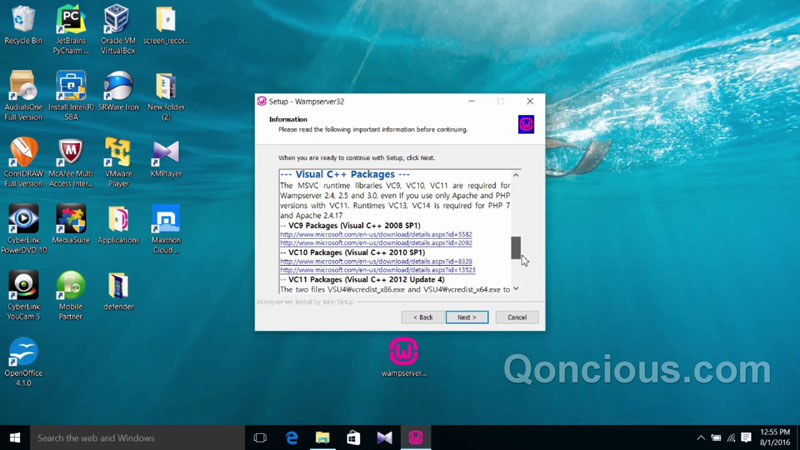
You can check which visual C++ packages are installed on your computer inside programs and features.
Go to programs and features inside control panel to see the installed visual C++ packages.
Check if the required packages are installed on your PC or not.
Here you can see the visual C++ Redistributable packages which are installed on your PC.
If a package is not in the list, download it from the links shown and install.
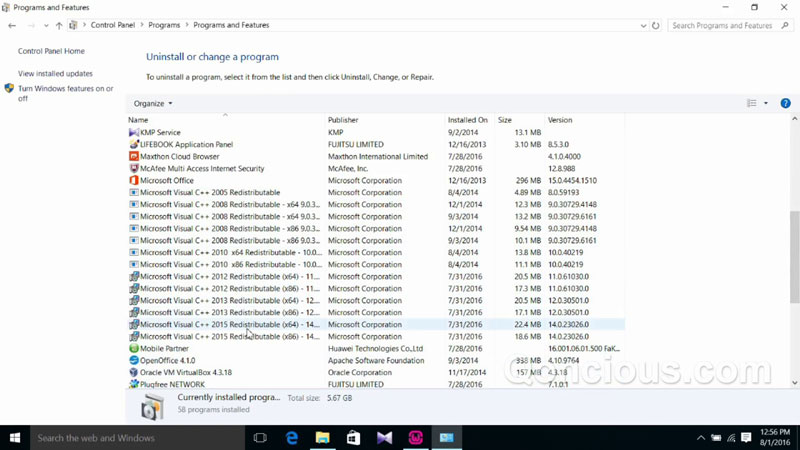
If you have a 32-bit Windows, you can install the 32-bit versions of visual C++ packages.
And if you are on a 64-bit Windows, you must install both 32-bit 64-bit versions.
After you have installed the requirements, you can click on the next button.
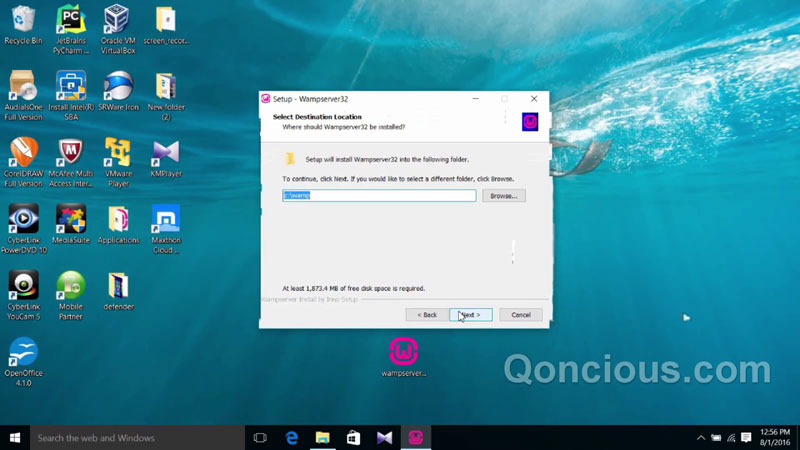
4) Leave the default destination folder
You don’t need to change the default destination folder. WampServer will be installed in this folder.
Click next. Click install.
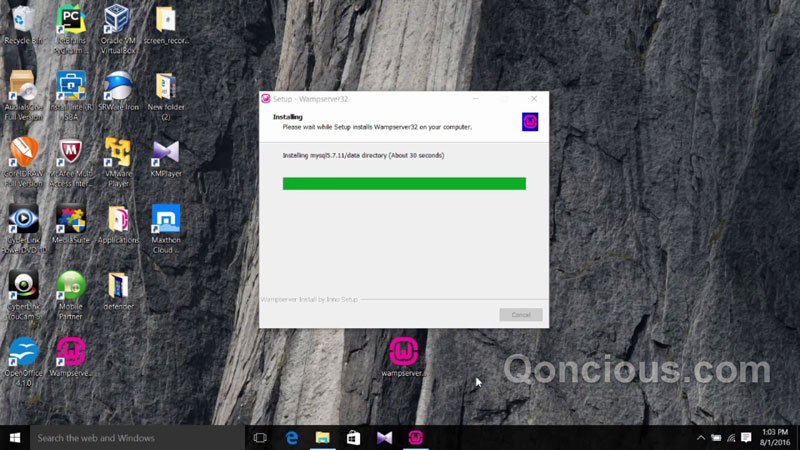
5) Wait for the installation to complete.
6) Read the information about phpMyAdmin. Click next then finish.

7) Start WampServer
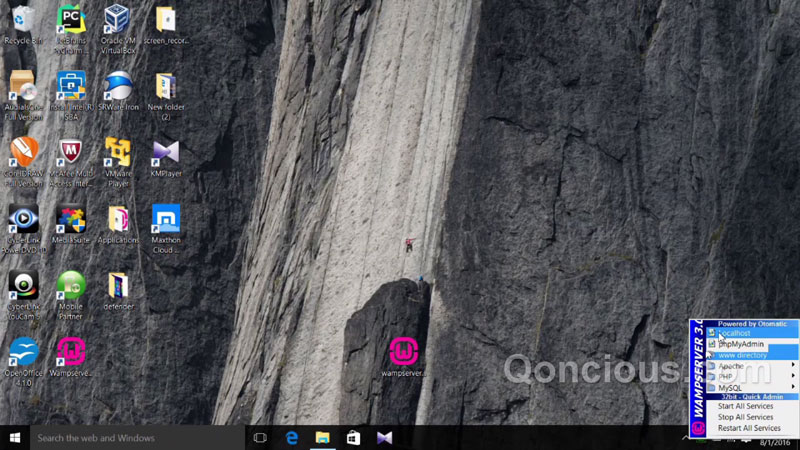
Double-click on the WampServer icon to start.
Wait while all the services of WampServer start running. After that the WampServer icon will turn green.
Click on the WampServer icon as shown. Here you can manually start and stop all services. Services include Apache, PHP, My SQL, etc.

8) Go to localhost WampServer homepage
Click on localhost. It will open your default web browser and go to http:// localhost.
You will see the WampServer homepage.

Congratulations WampServer is now installed successfully on your computer.
If you wish to create your blog or website without coding, you might want to try Webflow.

