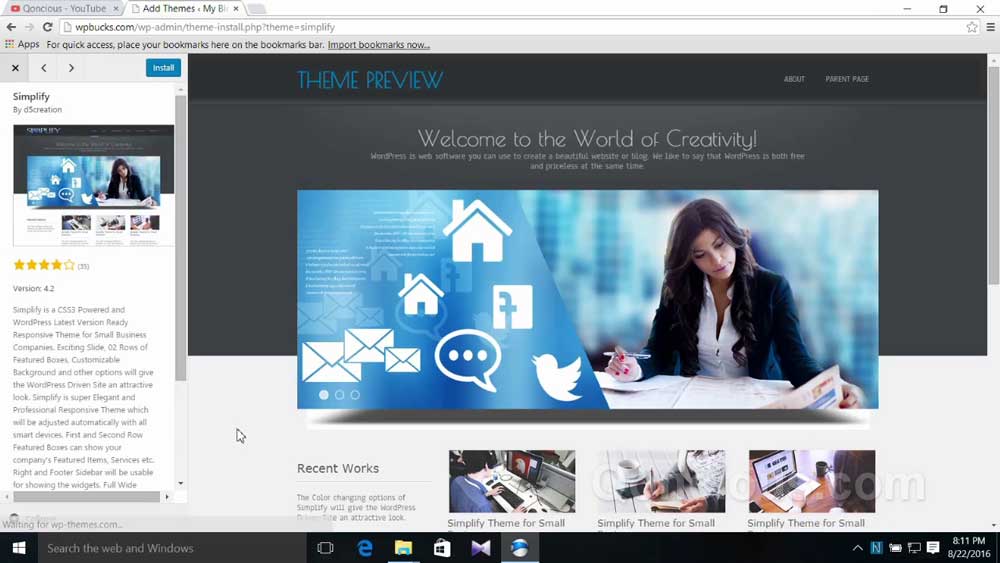
In this tutorial, we will show you how to install a new theme in WordPress using the WordPress Administration Dashboard.
If you want to change the design and layout of your WordPress website or blog, you can choose a theme from a number of free and paid WordPress themes and then install it.
Steps to Install a New WordPress Theme with Screenshots
If you want to see the video tutorial, you can see the video below.
1. Go to your WordPress Admin Dashboard. Now, Go to Themes under Appearance. You can go to Themes using the url "your-domain/wp-admin/themes.php.
Inside the Themes section, you will see the themes which come with the default WordPress installation. To add a new theme, click on Add New Theme.

2. Now, you need to locate the theme which you want to install on your WordPress site. After you have decided the theme you want to use, select the theme and click on details and preview to see a preview of the theme.
If the preview looks good and there is no error and if you like the preview you can now go ahead and install the theme on your WordPress blog.

3. Close the preview. Click on Install to start installing the theme as shown.

4. After installing the choosen theme, click on Activate to activate the new theme. You can see the new theme in Themes section under Appearance inside your wordpress admin dashboard.

5. Visit your website's homepage to see the new theme in action.
Congratulation you have succesfully installed a new theme in your wordpress website or blog.
If you wish to create your blog or website without coding, you might want to try Webflow.

